
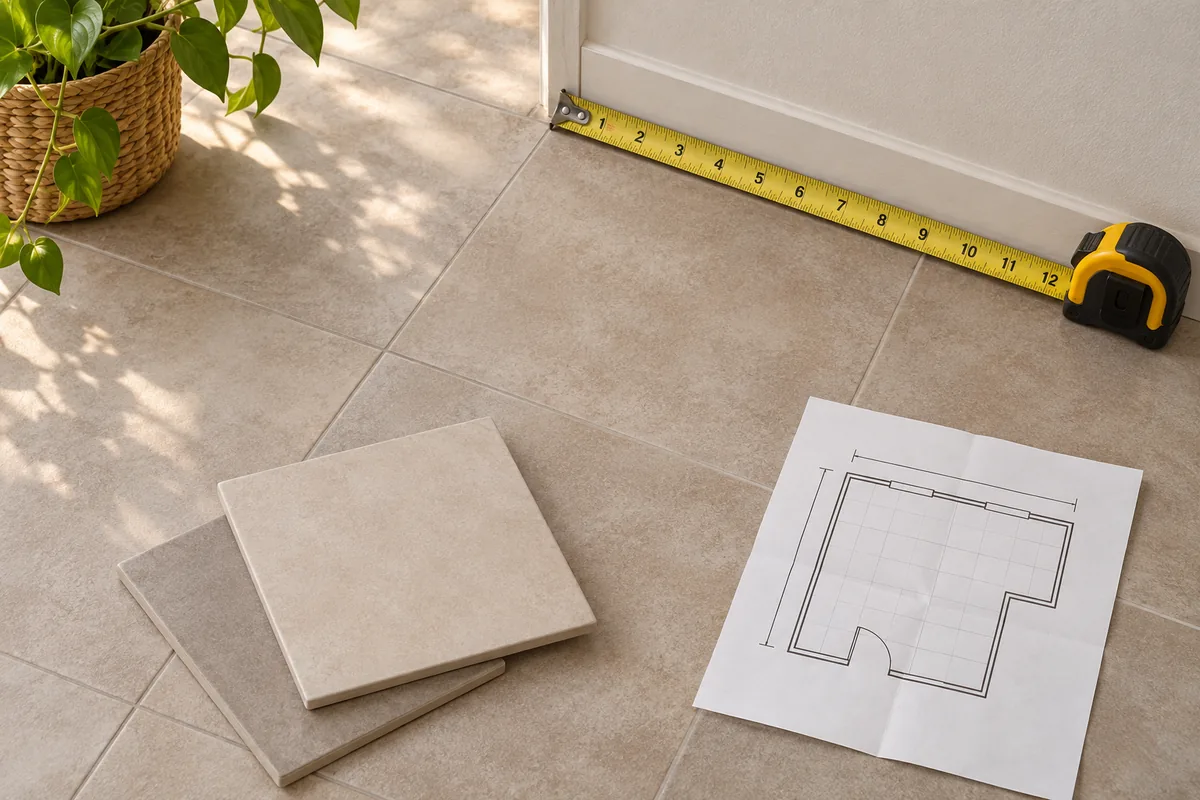
The short answer: calculate area, tile coverage, then waste
Measure each floor or wall section and convert the dimensions to one unit. Find surface area, divide it by the coverage of one tile after allowing for the grout joint, round up to whole tiles, and add a waste percentage for cuts and breakage. If the product is sold by the box, round the tile count up to complete boxes. A tile calculator is most useful when it shows every assumption instead of returning one unexplained number.
What a tile calculator estimates
A tile calculator answers a practical purchase question: how many individual tiles or boxes are likely to cover a measured surface? A useful estimate starts with the area of the floor, wall, backsplash, shower, or other plane. It then adds tile length and width, the grout joint, an allowance for waste, and the package coverage or tiles-per-box value. An optional price produces a material-only estimate.
This workflow is different from a general square footage calculator. The area calculator finds the geometry of a space from length, width, radius, or several simple shapes. The tile calculator begins with that measured area and applies product dimensions and installation assumptions. If you have not measured the room yet, use the square footage calculator first, then bring the result here.
The output should be easy to audit: base area, effective tile coverage, base pieces, extra waste pieces, total pieces to buy, complete boxes, and estimated material cost. Keeping those values separate helps you compare a 10% allowance with a 15% allowance or check why a box rounding rule changed the final order.
- Surface area for one or more non-overlapping sections.
- Tile face dimensions and the planned grout joint.
- Waste for cuts, breakage, pattern matching, and future repairs.
- Tiles per box or square-foot coverage printed on the product label.
- A material price per tile, box, square foot, or square meter when available.
Measure the surface before using a tile square footage calculator
Measure the actual area that will receive tile, not the entire room outline when cabinets, islands, tubs, windows, or permanent fixtures interrupt the surface. For a rectangular floor, record length and width. For a wall, record width and the tile height. For a backsplash, measure each run separately and subtract openings only when the opening will not be tiled. Write down the unit beside every number.
Split an L-shaped or irregular space into rectangles that do not overlap. Calculate each rectangle and add the areas. A long wall may need separate sections above and below a window. A shower may have three walls plus a floor, each with its own dimensions. Listing the sections makes the final tile quantity easier to explain and reduces the chance of counting an empty cutout twice.
Keep the measurement precision you actually know. Enter 11 ft 8 in instead of rounding to 12 ft when the difference affects a close order. Convert feet, inches, meters, or centimeters consistently before applying the tile formula. Product packaging may use square feet or square meters, so check the label and convert the surface area to the same unit before comparing coverage.
- Sketch the surface and mark doors, windows, fixtures, niches, and areas that will not receive tile.
- Measure each usable section twice and record length, width, and unit.
- Calculate sections separately, then add only non-overlapping areas.
- Confirm whether the product coverage is stated per tile, per box, square foot, or square meter.
Tile area, grout gaps, and piece count
For a first estimate, tile face area is tile length multiplied by tile width. A 12 in by 12 in tile covers 144 square inches, which is 1 square foot before grout is considered. A 12 in by 24 in tile covers 288 square inches, or 2 square feet. To find a base count, divide the surface area by the coverage of one tile and round up because a partial tile still has to be purchased.
Grout joints change the layout pitch: the repeated module is the tile face plus the joint width. For a simple grid, an effective width can be estimated as tile width plus one joint, and an effective length as tile length plus one joint. The exact edge treatment depends on the layout and whether the outer perimeter uses full tiles or cuts, so this is a planning model rather than a cutting schedule. Follow the installer or product guidance for unusual formats.
For a 10 ft by 12 ft floor, the surface is 120 square feet. With 12 in by 12 in tiles, the base count is 120 tiles before waste because each tile is about 1 square foot. With 10% waste, 132 tiles are planned. If the box contains 10 tiles, round 132 up to 14 boxes, giving 140 tiles available. The extra eight tiles are a packaging effect, not an additional waste percentage.
- Base tile pieces = surface area / one tile's effective coverage, rounded up.
- Effective coverage can include the planned joint when the layout estimate needs it.
- Waste pieces = base pieces x waste percentage, rounded up for a purchase count.
- Boxes = total pieces / tiles per box, rounded up to a whole box.
Add waste, cuts, and spare tiles
Waste is a planning allowance for the material that cannot be installed as a full useful piece. Straight layouts in a simple rectangle may need less extra material than diagonal, herringbone, or staggered patterns. Many corners, narrow strips, plumbing cutouts, fragile tile, and long shipping distances can also increase the risk of damage. The correct percentage depends on the product and layout; a calculator should show the chosen percentage instead of presenting it as a universal rule.
A common starting point for a simple room is 10%. A detailed pattern or an irregular room may justify 15% or more, while a professional layout plan may determine a different allowance. Do not reduce the allowance just because the base area is a clean number. Keep a few matching tiles for future repairs when the product may be discontinued, but treat those spares as a separate decision so they are not confused with installation waste.
The waste result is not a promise that every offcut will be unusable. Skilled installers can often place large offcuts in another location, but the estimate must still cover the cuts that the layout requires. Ask the retailer or installer whether their recommendation is based on area, tile count, box coverage, or a cutting plan.
- Choose a waste percentage based on room shape, tile material, pattern, and installer advice.
- Apply the allowance to the base quantity and round up to whole pieces.
- Round the final count to complete boxes only after waste is included.
- Decide separately whether to purchase matching repair spares.
Convert pieces to boxes and estimate material cost
Tile is often sold by the box, while the label may state a number of pieces and a coverage area. Use the package information for the exact product rather than assuming every box contains the same number of tiles. If the box covers 15 square feet and the adjusted project area is 132 square feet, divide 132 by 15 and round up to 9 boxes. If the label gives 10 pieces per box, divide the total pieces by 10 and round up instead. Coverage is the safer input when tile sizes or nominal dimensions differ.
Cost depends on the unit price. Multiply boxes by price per box, pieces by price per tile, or adjusted area by price per square foot or square meter. Keep labor, mortar or thinset, grout, backer board, spacers, trim, delivery, tax, and tool rental outside the tile-only estimate unless a supplier quote includes them. A clear calculator labels what is included so a low material number is not mistaken for a complete project budget.
When comparing products, use the same surface boundary and waste assumption. A larger format tile may reduce the piece count but create more cuts or heavier handling. A lower price per square foot may be offset by a smaller box coverage or a higher breakage risk. Record the package size, price date, and selected waste percentage with the estimate.
- Use the package's stated coverage or pieces-per-box value.
- Round boxes up; retailers normally cannot sell a fraction of a sealed box.
- Separate tile material cost from installation supplies and labor.
- Save the product name and lot or dye information for future matching.
Worked floor and backsplash examples
These examples show the arithmetic a tile calculator should expose. They use planning assumptions, not a guaranteed cutting plan.
| Project | Base area | Tile and waste | Purchase estimate |
|---|---|---|---|
| 12 ft x 16 ft floor | 192 sq ft | 12 x 12 in tile; 10% waste | 212 tiles; 22 boxes at 10 tiles per box |
| 10 ft x 12 ft floor | 120 sq ft | 12 x 24 in tile; 15% waste | 66 tiles; 7 boxes at 10 tiles per box |
| 8 ft x 2 ft backsplash | 16 sq ft | 4 x 12 in tile; 15% waste | 59 tiles; box count depends on package coverage |
| Three wall sections | 54 sq ft total | Mixed sections; 10% waste | 60 sq ft adjusted; round to the product's box coverage |
The first two examples use a simple piece count for illustration. Real grout joints, edge cuts, openings, and package coverage can change the final order, so check the product label and layout.
Accuracy, installation checks, and limits
A tile calculator is a quantity estimate, not a substitute for a layout drawing or an installer takeoff. It does not know where a pattern should start, how a border will be centered, which cuts can be reused, or whether the substrate is flat and ready. Sloped surfaces, curved walls, stair treads, mosaics on sheets, and complex niches need a more specific method.
Check the substrate, waterproofing, movement joints, edge profiles, and manufacturer instructions separately. A wall or floor may require primer, membrane, backer board, adhesive, grout, sealant, trim, or transitions that are not part of tile coverage. For a shower or wet area, follow the applicable local building requirements and the product system instructions.
Before ordering, compare the adjusted area with the package label, confirm the tile lot and shade, and ask how unopened boxes can be returned. Keep one written record of dimensions, unit conversions, waste percentage, box coverage, price, and date. That record makes it easier to correct one measurement without rebuilding the entire estimate.
- Recheck measurements and openings before placing an expensive order.
- Treat waste as an allowance, not a guarantee of exact coverage.
- Use professional layout or installation advice for complex patterns and wet areas.
- Confirm product coverage, lot consistency, returns, and delivery before purchase.
Frequently asked questions
How does a tile calculator work?
It divides the measured surface area by one tile's effective coverage, rounds up to whole pieces, adds a chosen waste allowance, and then rounds to complete boxes when package information is provided.
How many tiles do I need for a floor?
Measure the floor area, divide by the coverage of one tile, round up, and add waste for cuts and breakage. For example, a 120 sq ft floor using roughly 1 sq ft tiles needs 120 base tiles before the chosen waste percentage.
Should grout spacing be included in the tile calculation?
A simple planning estimate can include the grout joint in the repeated layout pitch, especially for small tiles. The exact edge and cut layout still depends on the installer and the pattern, so do not treat the result as a cutting schedule.
What waste percentage should I use for tile?
Ten percent is a common starting point for a simple rectangular layout, while diagonal, herringbone, irregular, fragile, or heavily cut projects may need more. Follow the product or installer recommendation and keep repair spares separate.
How do I calculate tile boxes?
Divide the adjusted tile quantity or area by the tiles-per-box or square-foot coverage printed on the package, then round up to a whole box. Use the label for the exact product because package sizes differ.
Does a tile calculator include grout, adhesive, and labor?
Usually the tile quantity and optional tile material price are separate from grout, mortar or thinset, backer board, trim, delivery, tax, and labor. Add those items using their own product coverage or supplier quote.
Can I use a tile calculator for a wall or backsplash?
Yes. Measure each wall or backsplash run, subtract openings that will not be tiled, add non-overlapping sections, and use the same tile, joint, waste, and package assumptions.
What should I do if the room is L-shaped?
Split the L shape into rectangles that do not overlap, calculate each area, and add them. A sketch with labels helps you check that a notch or opening was not counted twice.